

How to Set Up and Get the Most From Your Hydro Pod
- Jamie Finch
- Dec 21, 2025
- 3 min read
Our Hydro Pods will help ensure your isopods and other animals have all the moisture and humidity they need. This brief guide will help you install your Hydro Pods and show you how to get the most from them.
What you need:
A box with at least 13 cm of vertical space
Cutting tools
Approximately 20 cm of wire
1 ป่าในบ้าน Hydro Pod kit
That’s it!
Preparation
The Hydro Pod is easy to install and we've prvided a brief guide below.
Step 1:
Hole Cutting
You will need to cut a hole with a diameter of approximately 30mm. Line your Hydro Pod up against the box to be sure there’s enough room.
The hole doesn’t need to be perfect because the nut and bolt will cover the perimeter, which will help you do a professional-looking job.
Step 2
Wick Threading
You will need to pass the wick through the provided plastic tubing. This is where the wire becomes useful.
Pass the wire through one end of the piping so it comes out at the other end and attach the wick to the wire.
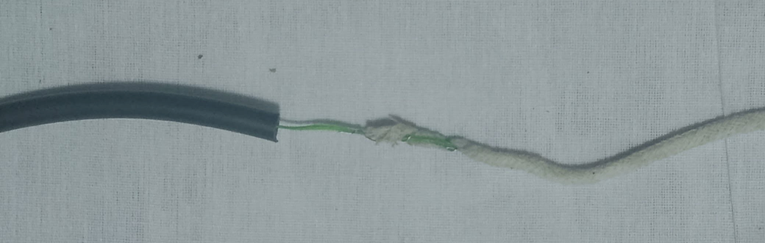
Then pull the wire and wick through the pipe. You will need to make the connection as flat as possible to make it easy to pull the wick through. This part will be easier if you you soak the wick in water first.
Assembly & Installation
The Hydro Pod comes in several parts, although no glue, screws or nails are required.

First attach the inner pipe clip support to the bolt using the dovetail connection, as illustrated on the left. Note that the clips should face the opposite direction of the screw thread.

Next, attach the cup holder to the support using the dovetail connection, as shown on the right:

Next, place your inner assembly into the box with the nut protruding through the hole. The pipe holders should be facing out into the box.

Attach the outside part of the assembly. You will need to thread the pipes through the nut and the hole at the top of the cup holder support.

Add the cup into the holder and place the wick and pipe through the ready-made holes in the top. Make sure plenty of wick is exposed so it can soak up water.

Lay out the wicking onto the floor of the habitat as shown on the right. Exactly how you do this depends on numerous factors, like the level of moisture you need. You should experiment first before adding your inhabitants.

Next, lay at least 2 inches of substrate on top of the wicking, covering the entire floor of the box.

Cover the substrate with a layer of leaf litter, bark, and decomposing wood
Your Hydro Pod is almost ready. But before you can use it, you should mist the substrate and moss surrounding the wick to allow capillary action to work. Also, make sure to fill the cup with safe water, like reverse osmosis water or clean rainwater. DO NOT use tap water because it can contain minerals and chemicals harmful to your isopods.
We also recommend experimenting with your Hydro Pod setup before adding your isopods to ensure you have the required humidity levels. If you have any questoins then feel free to get in touch on our Facebook Page, here: https://www.facebook.com/profile.php?id=61568471796811


Comments